I'm always up for trying a new trend. The gradient manicure is one of those that looks very cool and is surprisingly easy to do. I first saw a tutorial for this on www.birchbox.com. I had my nails painted and they were starting to chip a bit. So I added the gradient and I think I'll get several more days out of it... great way to extend your manicure!

Here's what I used. You could use any color combination you like.
 |
| Essie in Berry Hard for the base color. Sally Hansen in Commander in Chic (gray/beige) for the tip gradient. Essie in Carnival (a silver glitter). |
1. Start with just painting your nails any solid color you like.
2. Paint your tip gradient color onto the corner of a make-up sponge.

3. Dab the sponge onto the tips of your finger nails until you get the look you like. Add more color to the tips and gradually fade it out by dabbing more lightly as you move down your nail toward the cuticle. I faded my tip color gradually to about the middle of my nail.
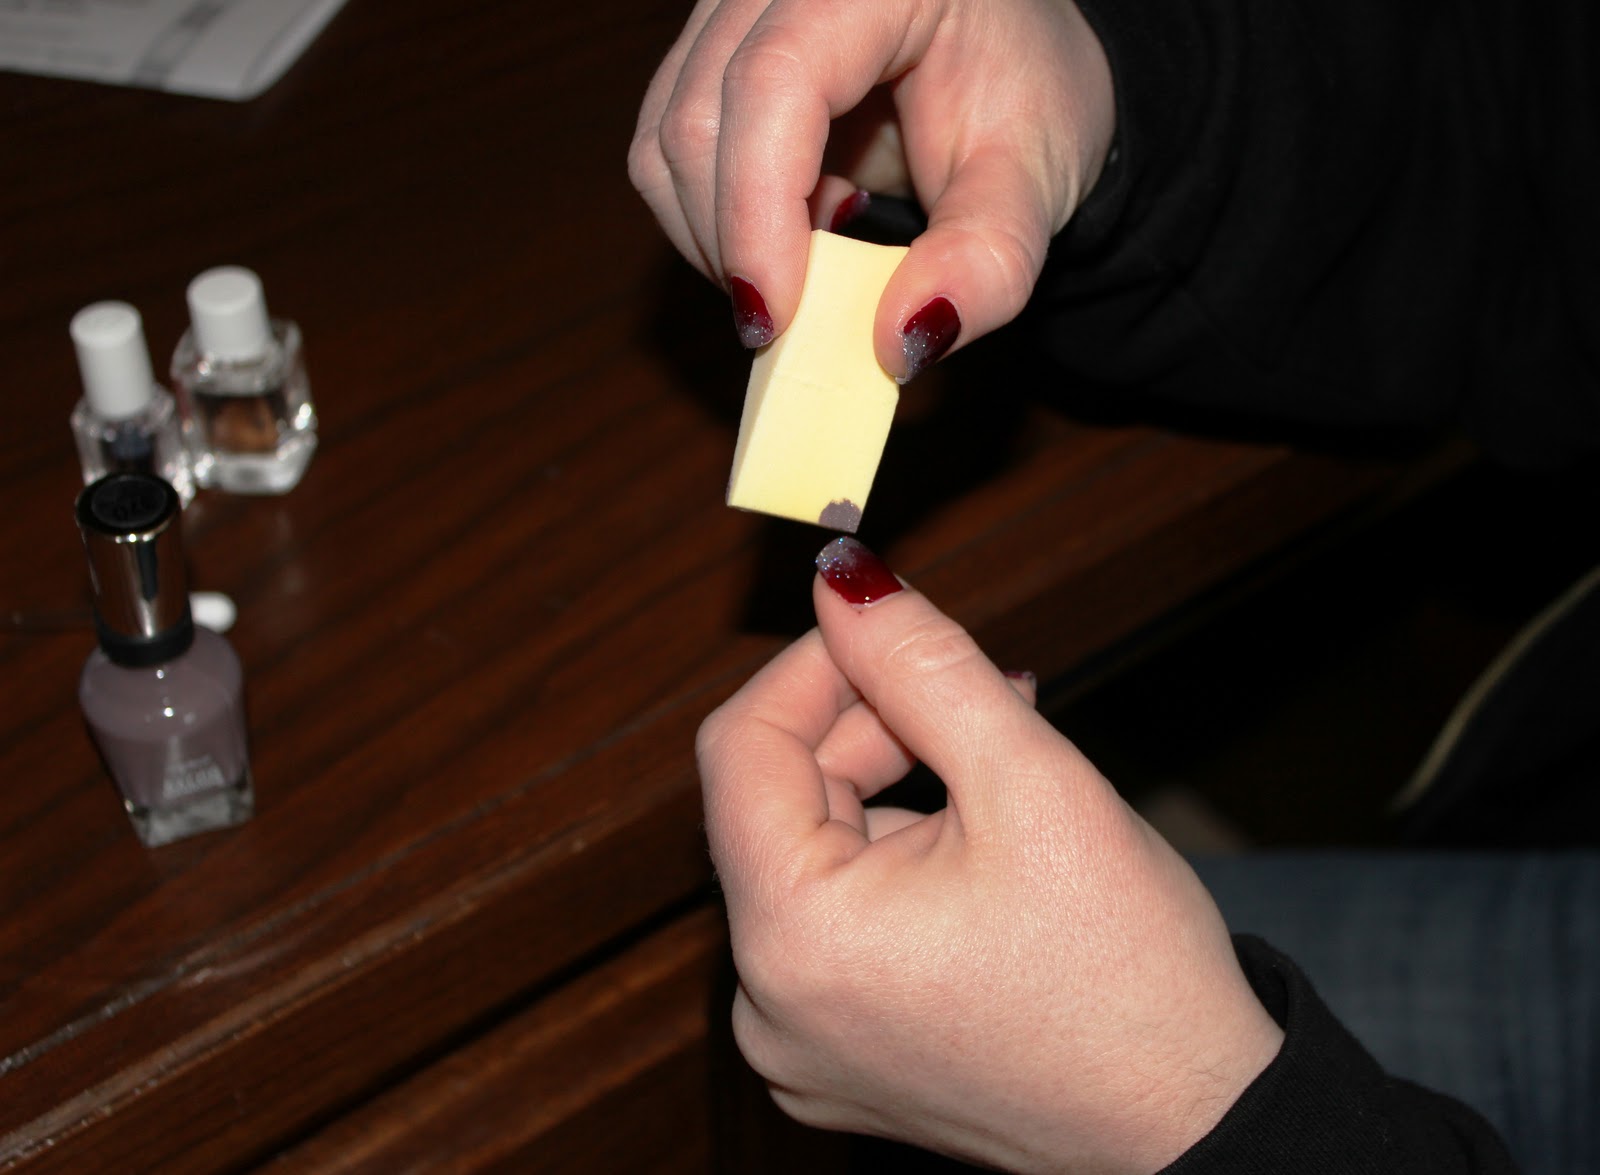
4. Add more polish to your sponge as needed to add the gradient to each nail.
5. Here you could just stop at the solid gradient color. I decided to add a glitter coat to help blend it a bit more. For this step, you don't need the sponge. Just get some of the glitter polish on the brush and start at the tip of your nail, dabbing and lightly brushing the polish over the tip gradient color. I used the brush to fade out the glitter also (having more glitter polish at the very tip and gradually less toward the middle of the nail).
6. Finish with a clear top coat for a smooth, shiny finish.
7. I always use a drying drop product at the end of my manicures at home (because I can't sit still very long to allow them to dry completely). Essie and OPI both make great ones. After you've applied your top coat, you add a drop to each nail. Wait about 5 minutes and your nails are perfectly dry!
Hope you like it. I'd love to hear what color combinations you try. Have fun!
love this!!
ReplyDelete