I always use the scrap of cake that gets trimmed from the top (to make each layer level) and a little extra frosting as my sample - yum. I couldn't make a cake for someone without a little quality control (my husband is always happy to help by tasting and critiquing).
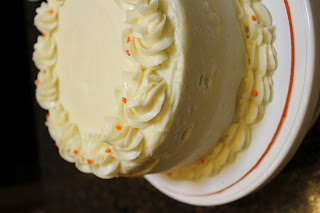

Carrot Cake with Cream Cheese Frosting
2 cups all-purpose flour
2 cups sugar
2 teaspoons baking soda
4 teaspoons ground cinnamon
1 teaspoon salt
4 eggs
1 1/2 cups vegetable oil
2 1 /4 cups finely grated carrots (almost a one-pound bag)
chopped pecans or walnuts, optional (I did not use the nuts this time around)
Cream Cheese Frosting
3 (8 ounce) packages cream cheese at room temperature
1 stick butter at room temperature
4 cups powdered sugar
1 teaspoon vanilla extract
splash lemon juice
Line the bottom of two 8 inch cake pans with parchment paper. (The parchment paper is important so that the cakes don't stick to the bottom of your pan. You could also use waxed paper.) Grease the pans.
In a large bowl, combine the flour, sugar, baking soda, cinnamon, and salt. Add eggs and vegetable oil. Blend with a hand mixer. Add the carrots (and nuts if desired). Divide the batter into the two pans.
Bake for about 40 minutes at 350 degrees. Remove from the oven and allow to cool for about 5 minutes. Remove the cake from the pans and place on waxed paper or parchment paper to cool completely.
To make the frosting, combine the cream cheese, butter, vanilla, and lemon juice using a stand mixer or a hand mixer until smooth. Add the powdered sugar and mix until smooth.


Enjoy!
slightly adapted from Paula Deen's "Grandma Hier's Carrot Cake"


